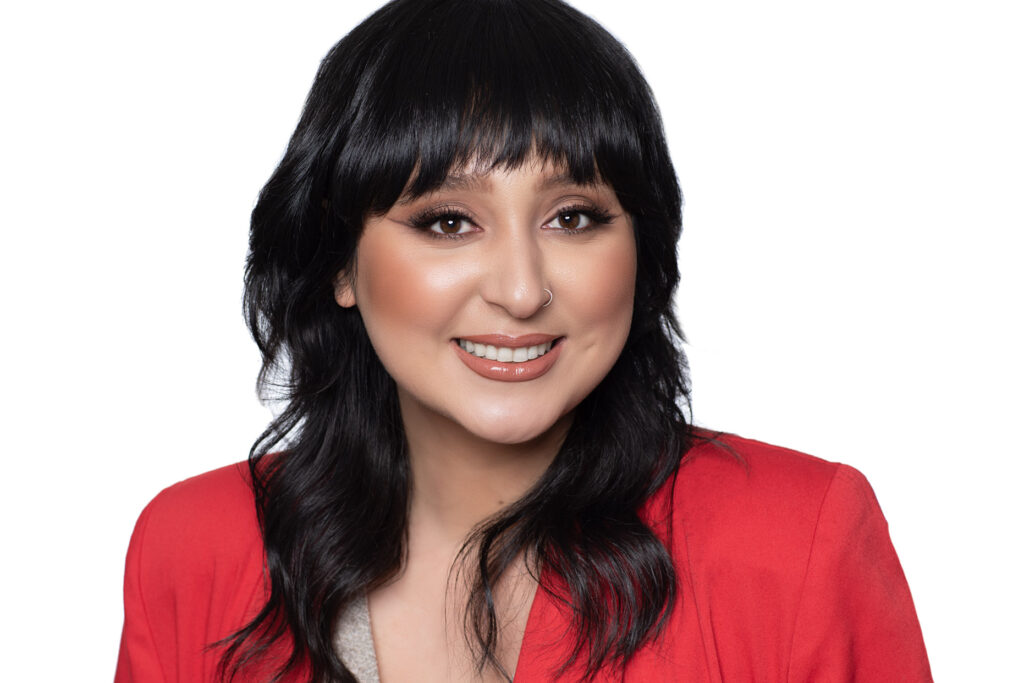
False eyelashes in your headshot can emphasize the shape of your eye and add a bit of drama. If your lashes are thinning, they can help fill in the sparse areas and make you feel more confident. At SRK Headshot Day we ask that if you wear false lashes or want to try false lashes for your headshot session that you come to your session with them on.
We do this for a couple of reasons. First, we want to make sure we have enough time to apply your professional camera-ready makeup for your headshot session. Lashes can take a bit of time to apply. Second, if you haven’t worn false eyelashes before we don’t want your headshot session to be the first time you try them. If you haven’t worn them before they can make your eyes feel heavy and you might feel that your eyes look and feel unnatural during your session — even if they don’t! We don’t want you to worry about your lashes during your session. If you wear lashes often or have tried them before then come with them on. If one should lift or need adjusting — our makeup artist will have lash glue available and will fix them for you.
Unless it is your personal style to wear extra full and long lashes, more natural lashes that aren’t too long look best. We don’t want them to overpower your eyes. If extra long lashes is your style, then go for it!
So what if you want to try false eyelashes in your headshot but you know your application skills are lacking or you are overwhelmed by all the choices you see online and in magazines? Often our lashes are not as full or long as we see on the actors on TV or in magazines. This can be especially true if you are over 50 and have the dubious age related gift of thinning lashes.
Being in that demographic myself, a year ago I decided that I would master how to apply false eyelashes.
I wanted a natural look — just a little bit of fringe. The very talented makeup artists we work with had some great suggestions. Here are a couple followed by what eventually was the winner for me.

Types of False Eyelashes for Your Headshot:
Eyelash Extensions:
For extensions you need to go to a salon or individual who specialize in lash extension application. They will apply a false eyelash to each of your individual lashes. It is a time consuming process but the results look amazing. Some experts say that this process can make your natural lashes brittle. If you decide at some point that you no longer want extensions then your natural lashes can look stubby once they are no longer in place. In addition to finding a qualified person to apply the lashes, probably the other most important thing to consider is access to that person. If you don’t have a convenient place to get them maintained every three-four weeks then you won’t keep them up and they will no longer look their best. I knew that I wouldn’t have the time for extensions so I quickly ruled them out.
Magnetic lashes/liner:
A fairly new contender in the crowded lash market, these lashes are great for beginners. You apply a specially formulated magnetic eye liner to your eye then click the lashes in place. I wasn’t thrilled with the idea of magnetic liner near my eye so knew this option wasn’t for me. There is another magnetic lash option which consists of applying magnets to the bottom and top of your lid and then clicking the lashes in place. Just writing that sentence makes me not want to try them.
Strip lashes:

Strip lashes have a bad reputation for not looking natural and that is certainly the case if you pick a set that are extremely long and full or so wispy you look like you have a feather duster on your eyes. Many brands also have a thick black band that is hard to camouflage. And one of the biggest gripes about strip lashes are that the ends — most often the one by your inner eye won’t stay put despite all the glue you can possibly slather on it.
Individual Lashes:
Instead of one long strip of lashes you can opt for individual lashes of varying lengths to apply to your own lashes. This is a great option if you only need a few lashes where your own lashes are thinning or where you might have a noticeable gap in your own lash line. You can buy single lashes and trio lashes as well as other combinations. You can also purchase them in different lengths and fullness. I did try this option and had some success but could never find the right length and wasn’t crazy about the look — I felt like I had spider legs sticking off of my eyes.
Accent Strip Lashes:
Similar to full strip lashes but these consist of a short strip that begins at your middle eye and flares out to the end of your eye. These are easier to apply and they also come in various lengths and styles. I didn’t like them because the change from my real lashes to the false lashes just looked too abrupt.
So what worked for me? One of our SRK Headshot Day makeup artists, Jenny Bouton, had a great suggestion. She correctly identified that what always made me give up was the length — all of the lengths looked too fake for me. She pointed me to a company called Elegant Lashes — many professional makeup artists buy their lashes from this company. They have a lot of options of course but look for the strip lashes marked x-short or mini. The other tip was to purchase individual lashes in trio — much easier and faster to apply than single lashes.
I first tried their trio lashes in a combination of x-short and short. They worked great. They were easy to apply and I could vary the length where needed. But then I found one of their products that was even easier to apply. Their strip lashes in mini. They have a fairly invisible band so you don’t have to worry about a thick, uncomfortable black band. If I want extra length I can opt for the x-short or short version. Elegant lash isn’t the only company who offers a shorter lash of course so now that I know what to look for I can try other brands such as Ardell and Kiss as well as most makeup lines offer their own lashes. (If you purchase lashes from Sephora or one of departments stores they might even trim them for you and show you how to apply them.)
Here are some lash application tips:
1. Gather the right tools.
After you have selected the best style of false eyelashes for your headshot. Gather the tools to make application a snap. I like to use a lighted magnifying mirror since my eyes are also over 50. Get the right lash application tool. You can use tweezers but a lash tool makes application much easier. Purchase lash glue. I like the natural, latex free white glue in a wand. It is much easier to apply than the glue that comes in a tube. The white will dry clear. You can also use black glue if you prefer but I find as a beginner I can use the white glue to see where my real lashes and the fake ones meet in case I need to adjust them once applied.
2. Apply your Makeup.
Apply your eye makeup, eye liner and mascara before you apply the false lashes.
3. Fit the lash to your eye shape.
After you remove one of the lashes from the package, place along your natural lash line. Trim to fit your eye. Each eye might need a different trim length. Trim from the outer edge and cut along the band.
4. To help prevent the ends popping up once you apply the lash, roll the lash around your finger or makeup brush to help them remain more curved in shape like your eye.
5. Apply glue along the lash band.
Let the glue dry for 40 seconds before applying lashes. This make the glue tacky so the lash will stick to the lash line more easily.
6. Apply lashes.
Place the false lashes along your lash line and push the inner eye end in first then tap the lash along your lash line. Give the end an extra tap. You can now press together your natural lashes and false eyelashes to give them a better seal. You might want to re-apply your eyeliner to hide any smudges or uneven texture.
And that’s it! Your new “eye-dentity” is now complete! Now book your headshot and look amazing!

